If you have an image sequence or video that has been converted to image sequences then it is possible to apply almost any photoshop filter, transforms and or processes to your work using Actions in Photoshop. Most any menu commands or tasks in photoshop can be recorded as an action to make a macro. This includes but not limited to resizing an image, doing color correction, and applying filters.
To start of with, make sure the image sequence is in a seperate folder because we will be applying a batch process to the whole folder. Next, open an image from the sequence in Photoshop. Next, to view the action pallette select Window>Actions which looks like the image bellow.
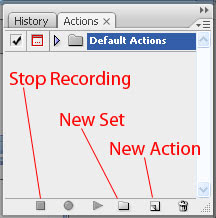
In the actions pallette select the folder icon to create a new folder set and give the set a unique name. Next select the Create new action icon which is to left of the trashcan icon in the action pallete and give it a unique name. To start recording actions press the Ok button.
In this example an image is going through just just two steps but a whole stream of actions can be recorded at once depending on the desired effect.
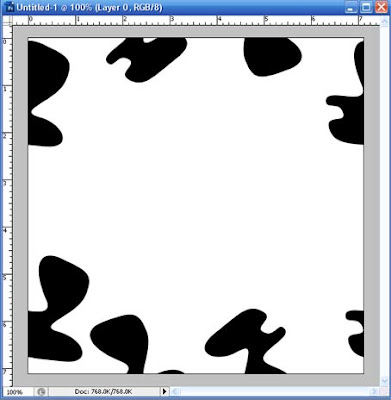
First select the Filter> Artistic> Neon Glow with the Glow Size of 5, Glow Brightness of 15, for Glow Color select a bright Blue. Once the options are set press Ok. Next, go to Image> Adjustments> invert which should make the blues a brown color. Now that is done select the square "stop playing/record" button at the bottom left of the actions pallette. In the pallette under the name of your action set> action name there should be an entry for Neon Glow and Invert. At this point close the oppened image without saving.
For the Final Steps select File> Automate> Batch. In the batch menu select your action set from set and your recorded session from Actions. For the Source select Folder then Choose and select the folder with the original image sequence from the folder list. In the check boxes only leave the "suppress" check boxes selected like in the image below. Select Folder for Destination and then use Choose to find the same folder as before but in the folder browser select Make New Folder which place a new folder in your existing folder. The override action check box should be switched off if not already.
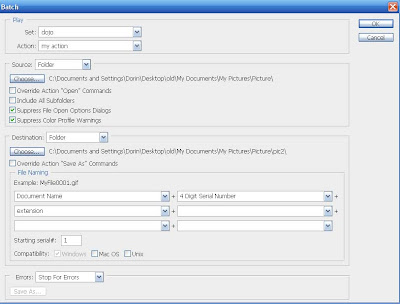
For the File naming convention select Document Name + 4 digit serial number (this allows up to 9999 frames in the image sequence) + extension from the first three selection boxes. Set the starting serial to 1. Finally, select desired operating system compatibilities and tell PhotoShop to Stop for Errors from the Error list. Once you press Ok photo shop will open each image in the sequence, add Neon Filter, Invert Image, and save image with the frame number in the new folder. Once Photoshop is done you will be able to import the image sequence into most video editing and composting packages.This work flow allows for limit less possibilities for video production and the actions are also saved for future use.
Thanks for Reading........